![IMG_8606]()
![IMG_8606]()
One of the most frequent questions I get on here, Twitter, on my videos is "what shade are you in....?". I get it, because if you know what shade I am in a foundation/concealer that you have then it's easier to identify which shade you will be and online shopping can be such a pain shade wise! So I thought I'd get it all down in a post so you can have a little look and I can refer back to it whenever the "what shade are you in...." question pops up. I am currently at my palest but I do get a bit darker in the warmer months so some of these shades are a bit more yellow but most sit in the neutral area. I've linked to some posts and videos along the way, so here goes!
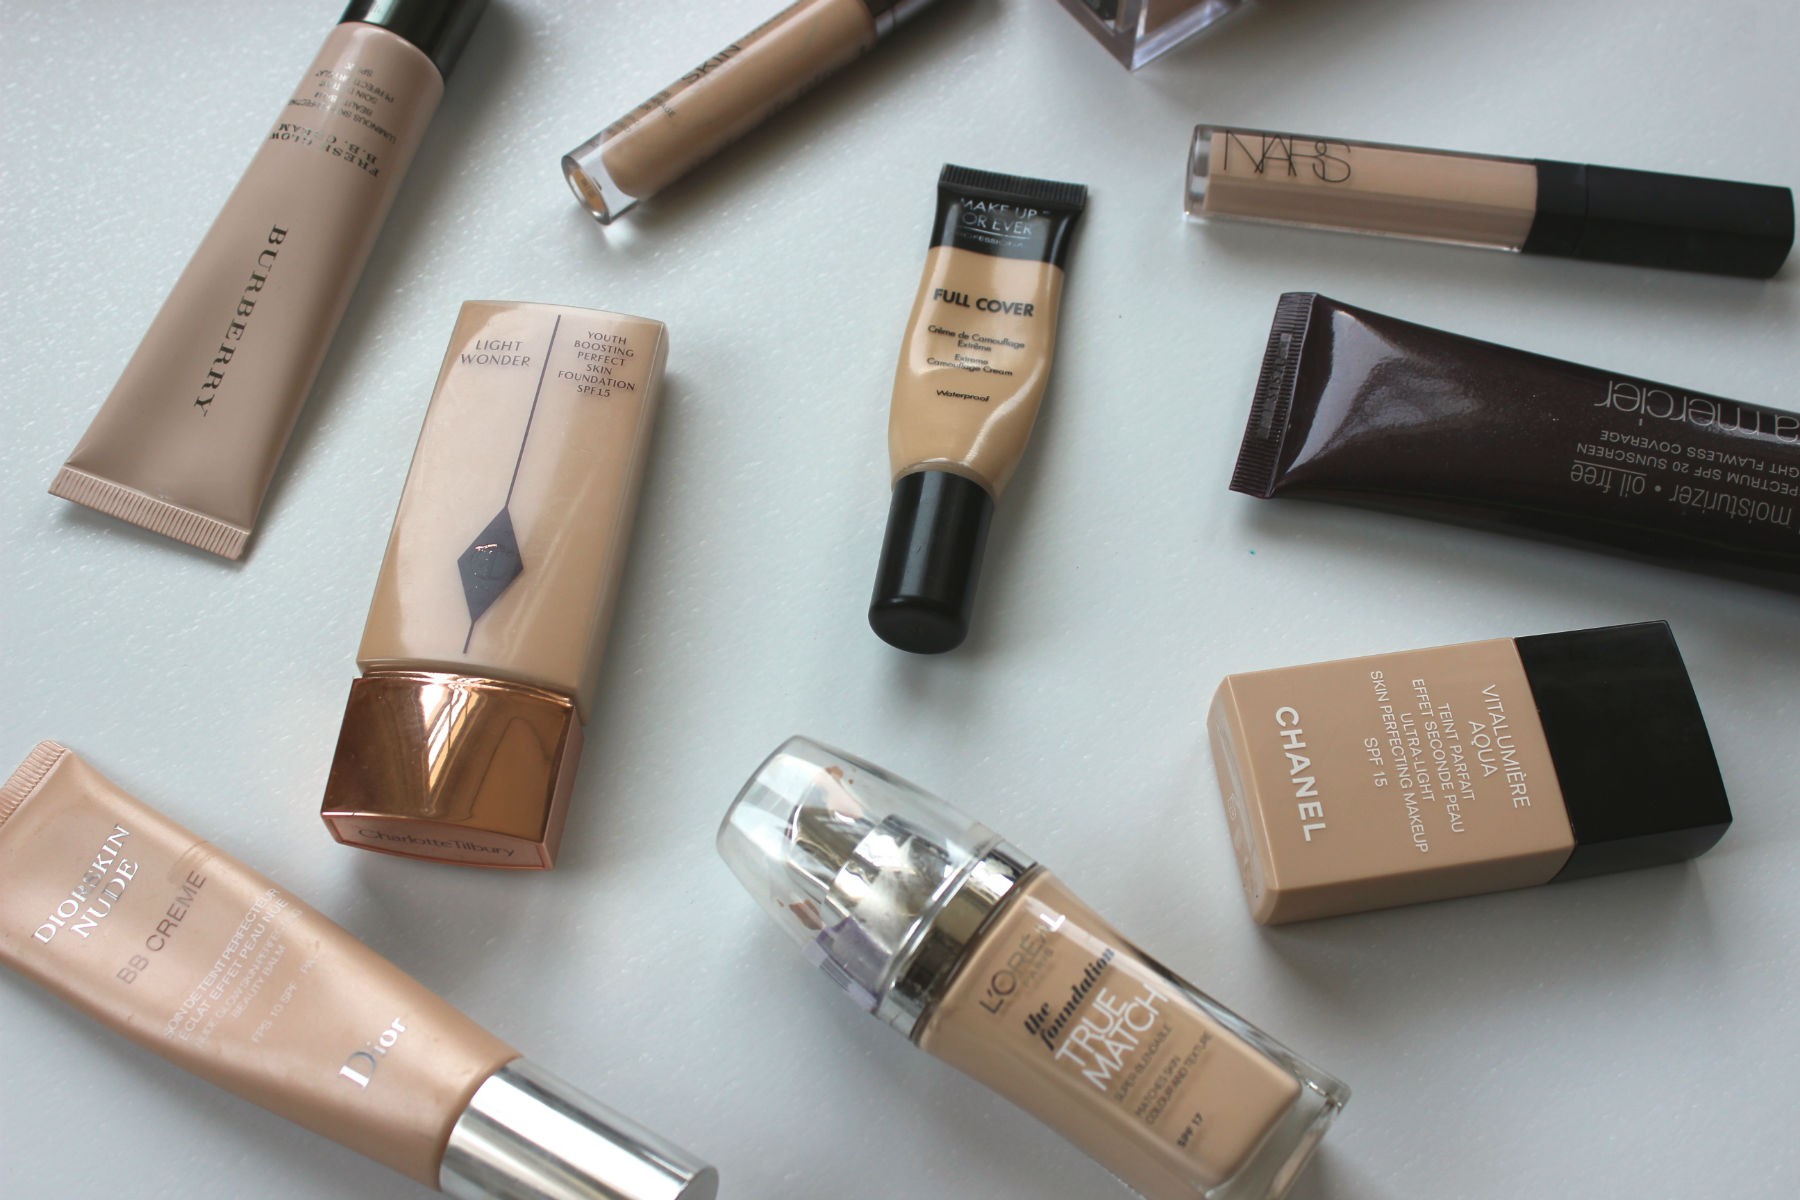
Foundations // High End
NARS Sheer Glow Foundation -
Deauville. Watch application
here, shop
here.
Burberry Sheer Glow Foundation -
Ochre Nude. Watch application
here, shop
here.
YSL Youth Liberator Foundation -
B30. Read about
here, shop
here.
Giorgio Armani Foundation -
4.5. Read Anna's review
here, shop
here.
Charlotte Tilbury Light Wonder Foundation -
3 Fair. Read about
here, watch application
here, shop
here.
Chanel Vitalumiere Aqua Foundation -
20 Beige. Watch Anna's review
here, shop
here.
Laura Mercier Silk Creme Foundation -
Cream Ivory. Shop
here.
RMK Creamy Foundation -
101. Read about
here, shop
here.
MAC Face & Body Foundation -
C2. Shop
here.
BB Creams & Tinted Moisturisers // High End
Dior BB Creme -
002. Watch application
here, shop
here.
Burberry BB Cream -
Fair No.1. Shop
here.
NARS Tinted Moisturiser -
Finland Light 01. Shop
here.
Laura Mercier Oil Free Tinted Moisturiser -
Nude. Read about
here, shop
here.
Jouer Matte Moisture Tint -
Linen. Read about
here, shop
here.
Chantecaille Just Skin Tinted Moisturiser -
Nude. Read about
here, shop
here.
Liz Earle Sheer Skin Tint -
Beige 02. Shop
here.
Kevyn Aucoin Sensual Skin Tinted Balm -
SB02. Read about
here, shop
here.
Foundations // Drugstore
Revlon Nearly Naked Foundation -
120 Vanilla. Watch application
here, shop
here.
Bourjois Happy Light Foundation -
No.50 Porcelaine. Shop
here.
L'Oreal True Match Foundation -
N1 Ivory. Shop
here.
Rimmel Match Perfection Foundation -
103 True Ivory. Shop
here.
Max Factor Skin Luminizer -
55 Beige. Watch application
here, shop
here.
Concealers //
NARS Creamy Radiant Concealer -
Vanilla (sometimes custard for the face) Read about it
here, shop
here.
Urban Decay Naked Concealer -
Light Neutral (I think fair neutral would work better though) Watch application
here, shop
here.
Make Up For Ever Full Cover Concealer -
5. Read about it
here, shop
here.
MAC Studio Finish Concealer -
NC20. Shop
here.
Kiko Natural Concealer -
02. Watch application
here, shop
here.
Revlon Colourstay Concealer -
02 Light Pale under eyes & 03 Light Medium on face. Read about it
here, shop
here.
I hope this was helpful to some of you and maybe you found some old reviews and videos along the way that you'd missed.
Thank you Heena for requesting this blog post. If you'd also like to request a blog post, please
submit your idea here.

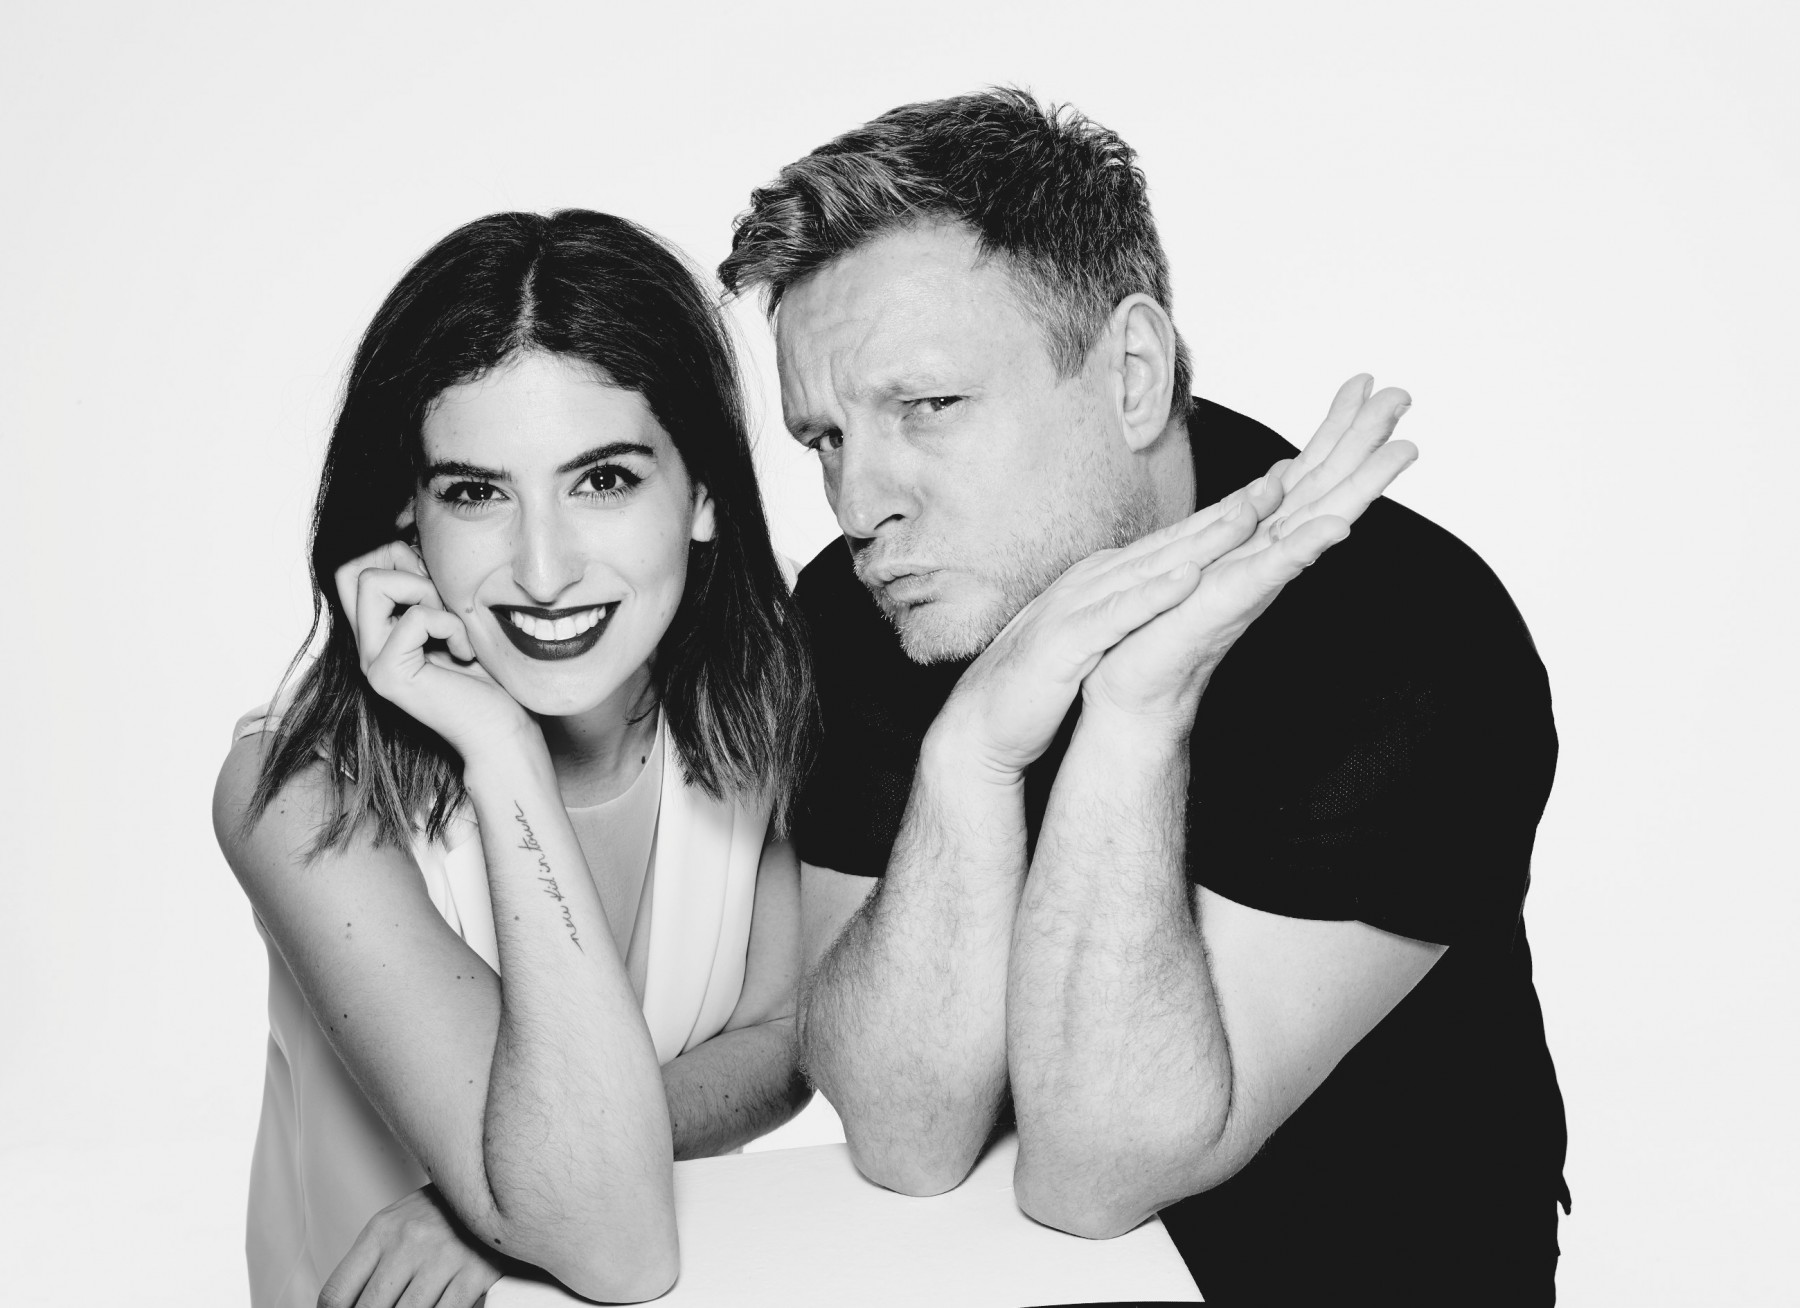 So do you remember me telling you about the amazing photo shoot I did with Rankin? Well it was during a shoot I did with Very Exclusive and I love the final images. Last night's video is in collaboration with Very Exclusive so I talk a bit more about it in the video, then show you how I like to get ready for a date night and a few special pieces I picked out to style in the video. It was fun to borrow some amazing items and tie them in with my makeup and hair look.
I hope you enjoy the video and one of my favourite photos from the day!
So do you remember me telling you about the amazing photo shoot I did with Rankin? Well it was during a shoot I did with Very Exclusive and I love the final images. Last night's video is in collaboration with Very Exclusive so I talk a bit more about it in the video, then show you how I like to get ready for a date night and a few special pieces I picked out to style in the video. It was fun to borrow some amazing items and tie them in with my makeup and hair look.
I hope you enjoy the video and one of my favourite photos from the day!